How to Process Expense Requests in the App
This guide provides a clear walkthrough for processing expense requests in the app, helping users efficiently manage approvals, rejections, and returns. By following the steps below, you’ll learn how to navigate the interface and communicate reasons for returning requests effectively.
Navigating to Expense Requests
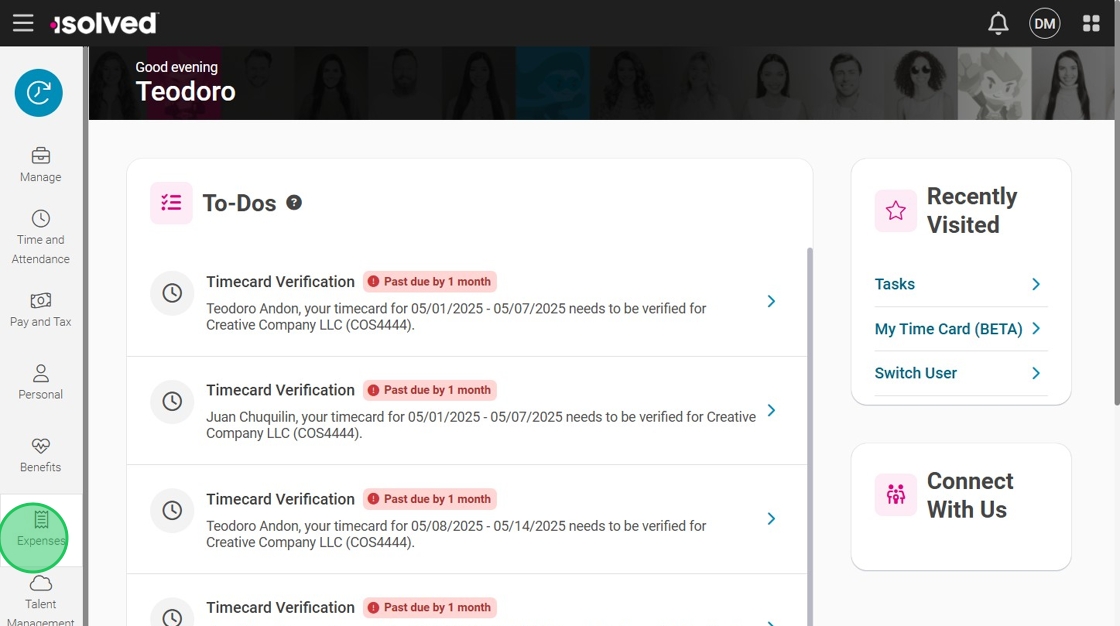
Navigate to the adaptive app

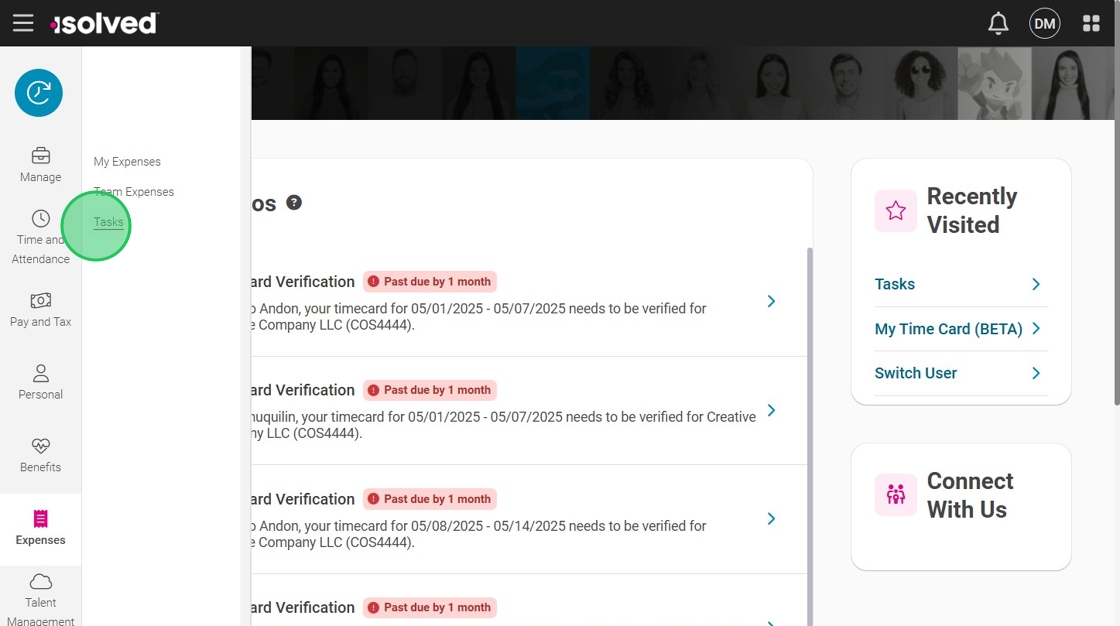
Click “Expenses”
Click “Tasks”
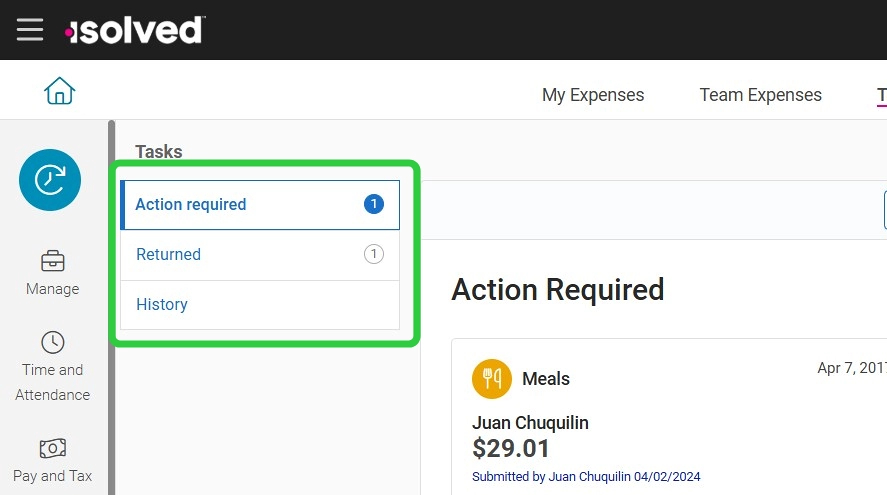
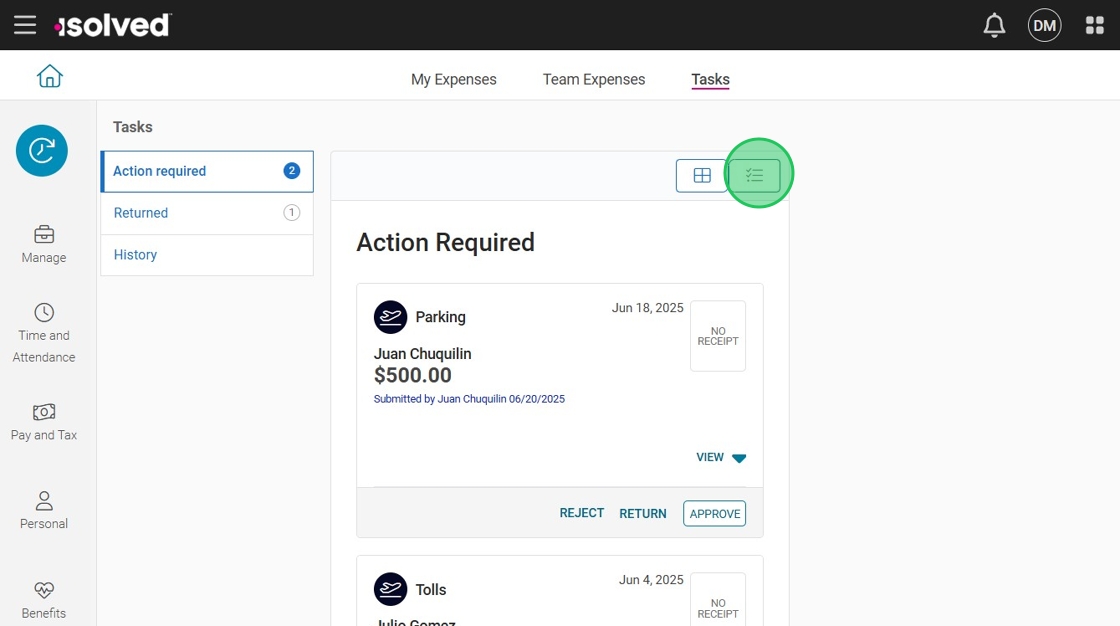
Tabs Overview
There are 3 tabs in the Tasks section:
- Action Required: Shows all requests pending your response.
- Returned: Displays all expenses that were returned to employees for updates.
- History: Lists all historical expenses and their status, including "Paid," "Returned," "Pending Payment," "Pending Approval," and "Rejected" items.
Viewing and Processing Requests
Click “VIEW” to expand the details of a request.
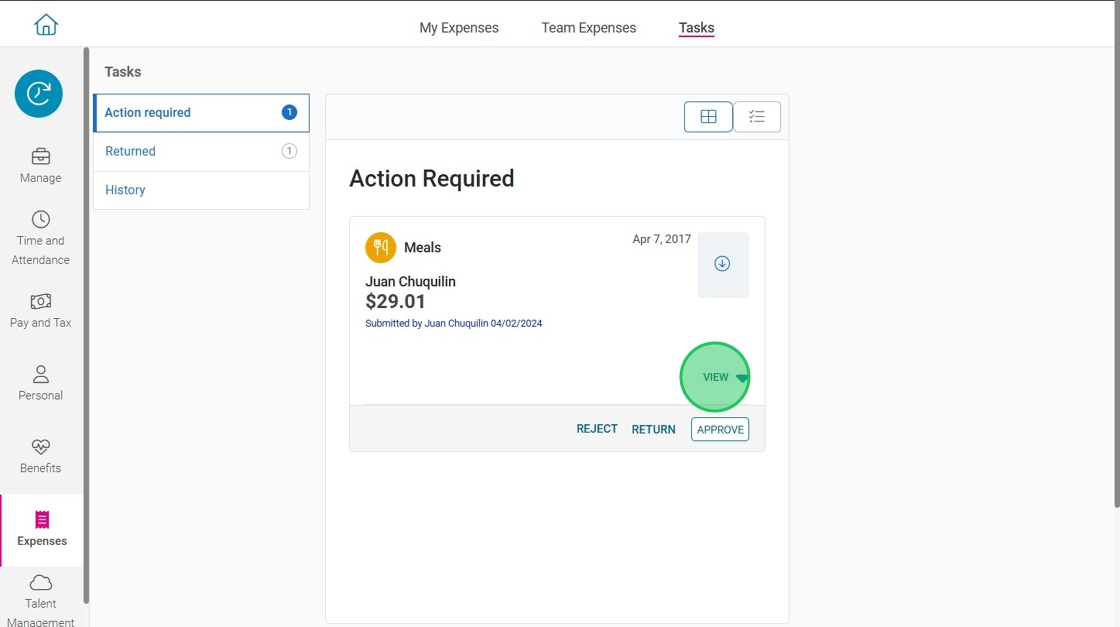
You will see three options:
- APPROVE: Allows the expense to be reimbursed with payroll.
- REJECT: Denies the request for reimbursement.
- RETURN: Sends the request back to the employee for clarification.
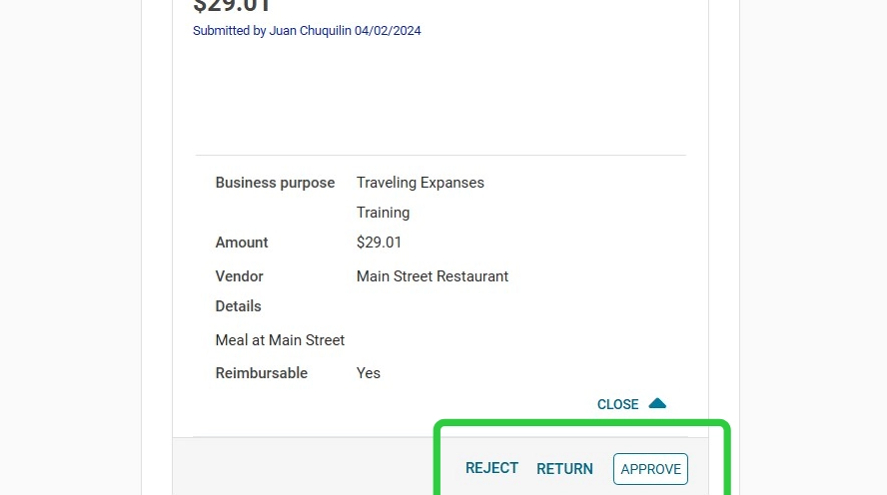

When you approve, reject, or return an expense request, the employee will automatically receive a notification.
If you reject or return a request, a pop-up window will prompt you to provide a reason.
This reason will be visible to the employee and should clearly explain why the request was not approved.
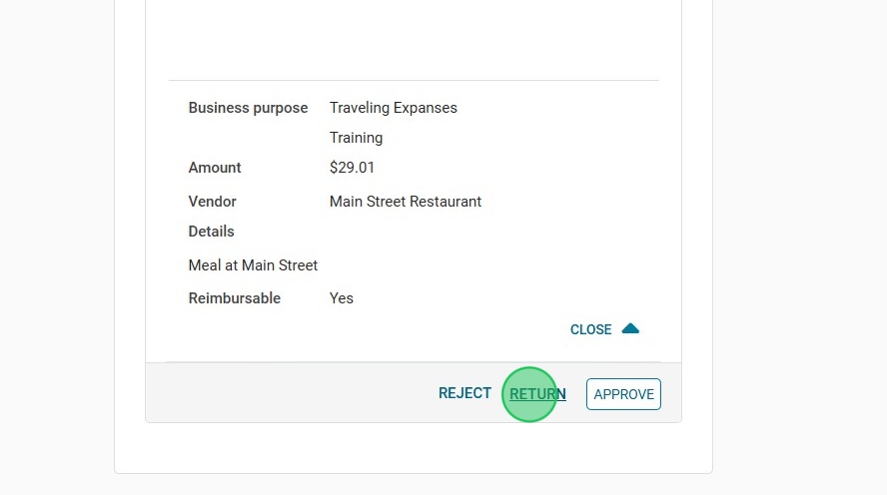
Returning an expense
Click "return"
A window will pop up, asking you to provide a reason.
Enter a reason, such as “Please add a receipt.”

Be specific in your return comments to help employees make the necessary changes.
Click “Return” to send it back to the employee.
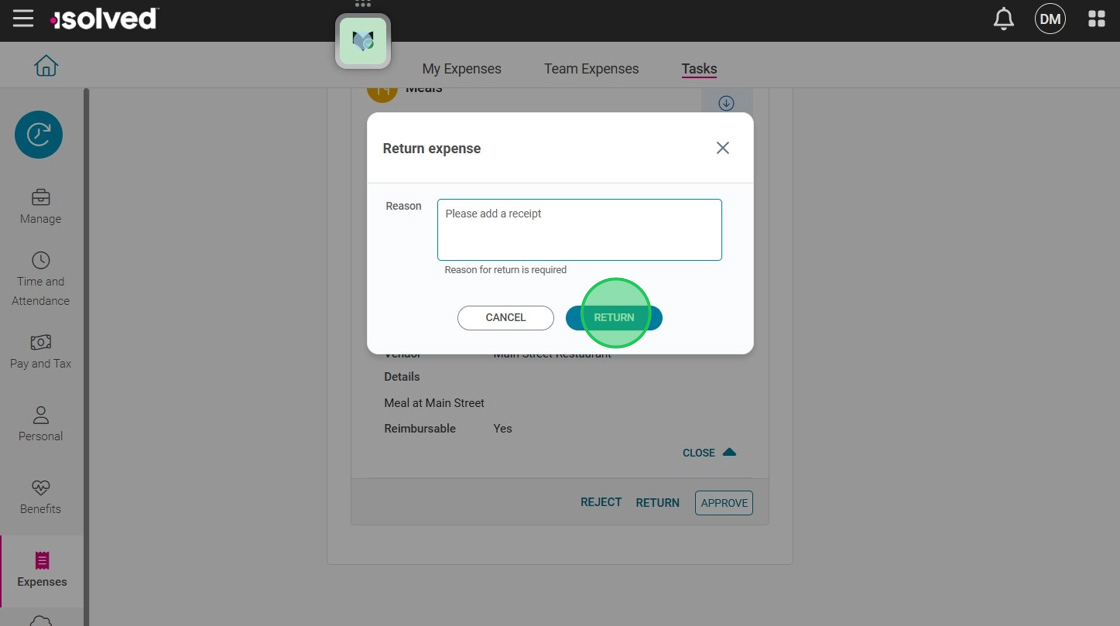
The employee will be notified about the return and the reason it was returned and will be able to correct it and resubmit.
Approving Multiple Expenses
To approve multiple expenses at once, navigate to the "Action Required" tab.
Click on the "List" icon.
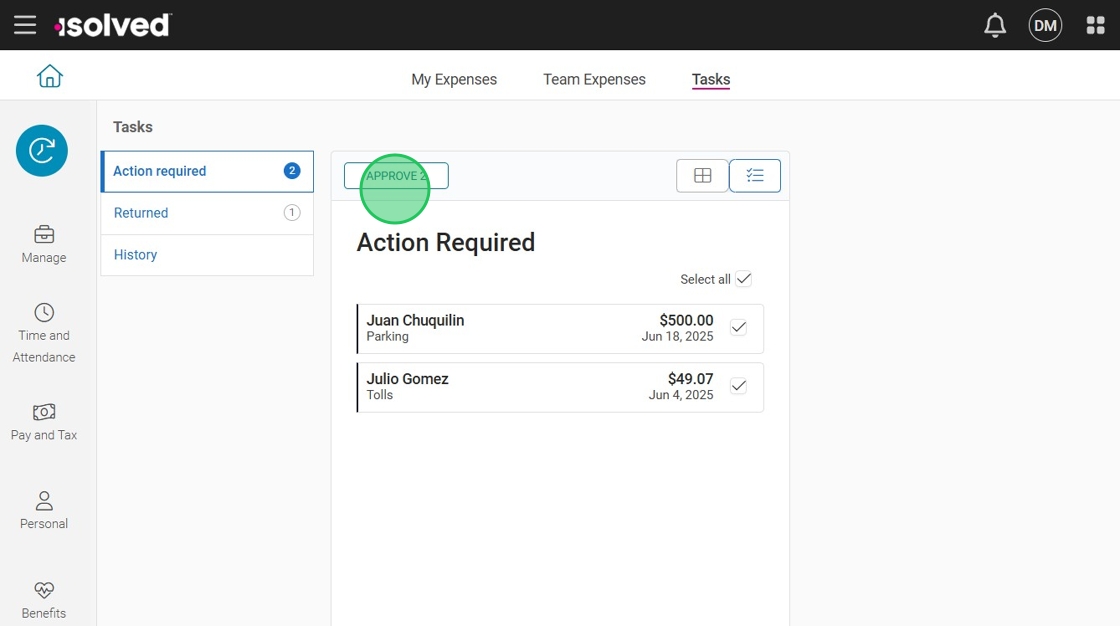
Select the expenses you would like to approve
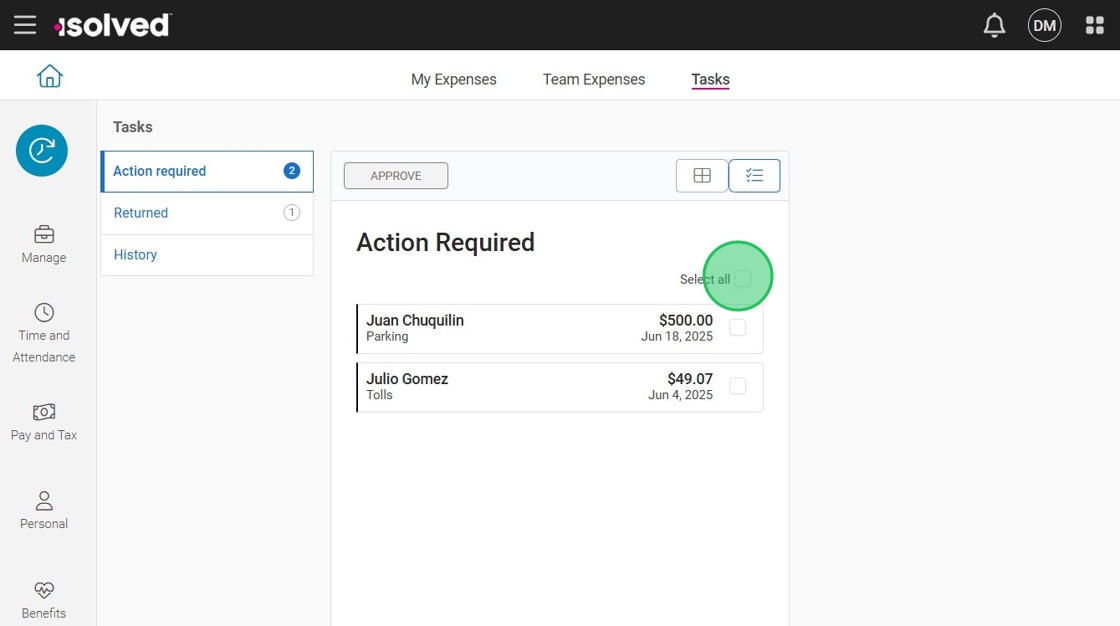
Click "Approve"
Related Articles
How to review and process time off requests as a manager
This guide provides a step-by-step process for managers to review time off requests using the adaptive app. It explains how to navigate to the relevant section, view request details, check for conflicts, and take action by approving or rejecting the ...How to Add a Missing Punch in the isolved App as a Manager
As a manager or supervisor using the isolved app, you have the ability to add a missing punch for an employee. If an employee forgets to clock in or out for a shift, or if there is any other type of missing punch, you can easily correct it using the ...How to Review and Manage Alerts in the isolved Adaptive App
The isolved app provides users with a convenient way to manage their payroll tasks, including reviewing time alerts. Alerts are notifications that inform you of time card occurrences that may require your attention. Reviewing alerts regularly is ...How to Approve Missing Punches in isolved as a Manager
To approve a missing punch in isolved as a manager, you can follow these steps: 1. Navigate to the isolved app 2. Click "Manage" > "Tasks" Or click "Tasks" under the Manage section 3. On a tablet or PC, click "REVIEW" Punches 4. On a phone click ...How to Assign, Edit, and Remove Individual Shifts in isolved
The isolved adaptive app provides a user-friendly platform for efficiently managing employee schedules. In this guide, we will walk you through the process of assigning, editing, and removing individual shifts within the app. Navigating to Schedule ...