How to Set Up Your Employee Account with PayWhiz
The PayWhiz Employee Self-Service Portal empowers employees by allowing them to conveniently access and manage their payroll, personal, and HR-related information online, from viewing pay stubs and updating personal details to submitting leave requests and enrolling in benefits.
Follow the steps below to set up your employee self-service account.
Setting Up Your Account

Your employer has to enable your account before you can start the activation process.
You will receive an email inviting you to set up your account.
1. Open your email titled isolved Onboarding Initiated
Click on the URL.

2. Enter your First Name and Last Name
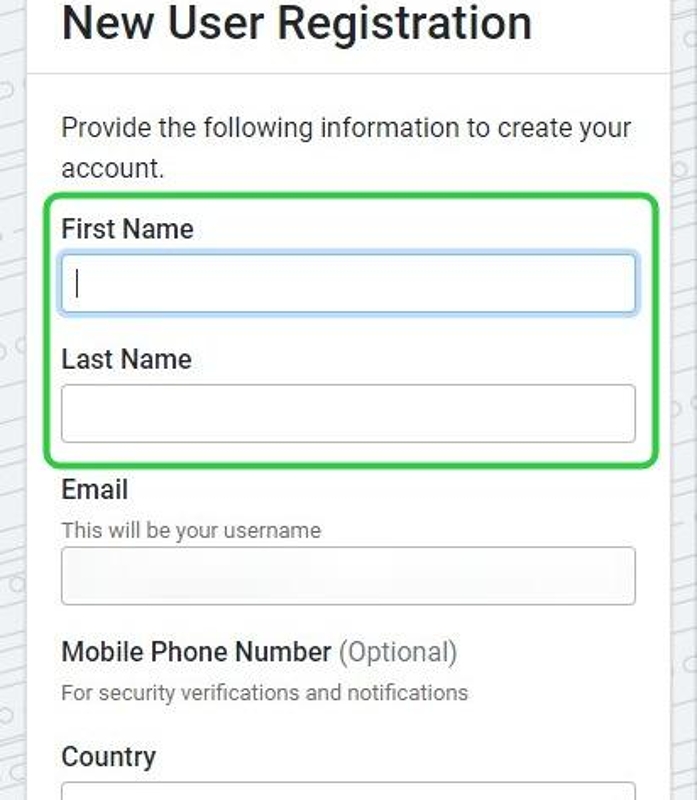
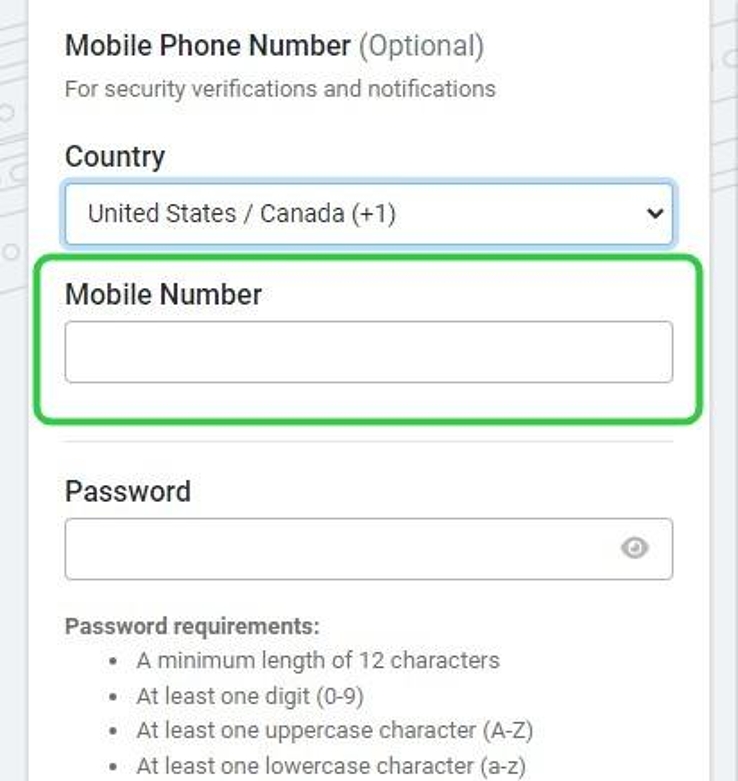
3. Recommended: Enter Mobile Phone Number
Phone number is optional but recommended as it can be used for text messages if you are accessing your account from a different device, or if you need to change your password.

If you don’t currently have access to your phone to receive text messages, it may be better to add this later on the Profile screen as you will be asked to confirm phone number - if provided - during the registration process.
4. Create a strong Password
 Password requirements: passwords should have a minimum of 12 characters (at least one lowercase character [a-z], one uppercase character [A-Z], one digit [0-9], and one special character.
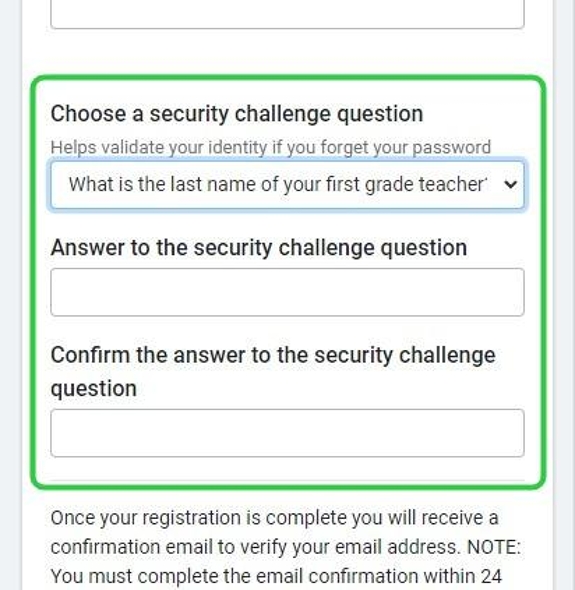
5. Select a challenge question, type and confirm your answer
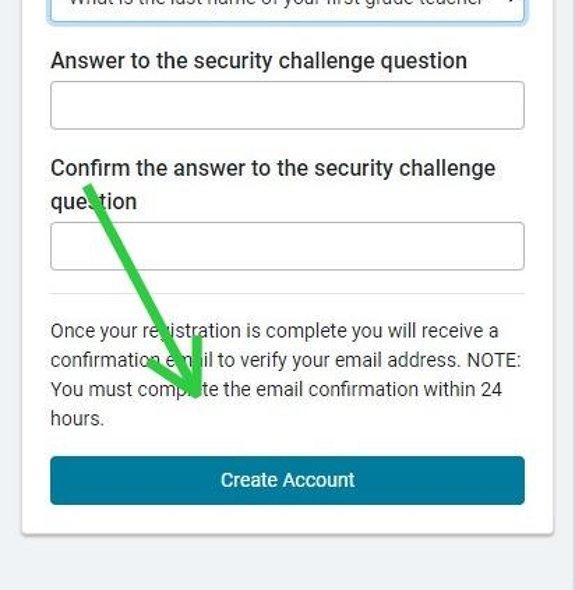
6. Click "Create Account"

Once you click on Create Account isolved will send you an email with a link to verify your account.
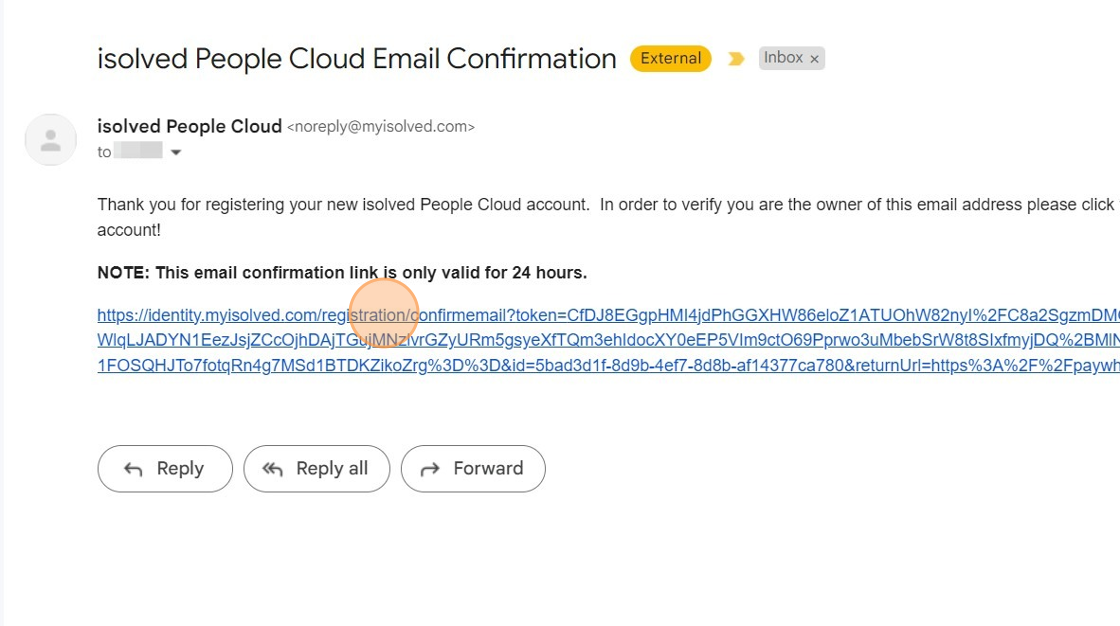
7. Check your inbox for the confirmation email
8. Click the link to confirm
If you entered a mobile phone number during account setup, the system sends a code to your phone which must be entered on this screen. The code is valid for three minutes.
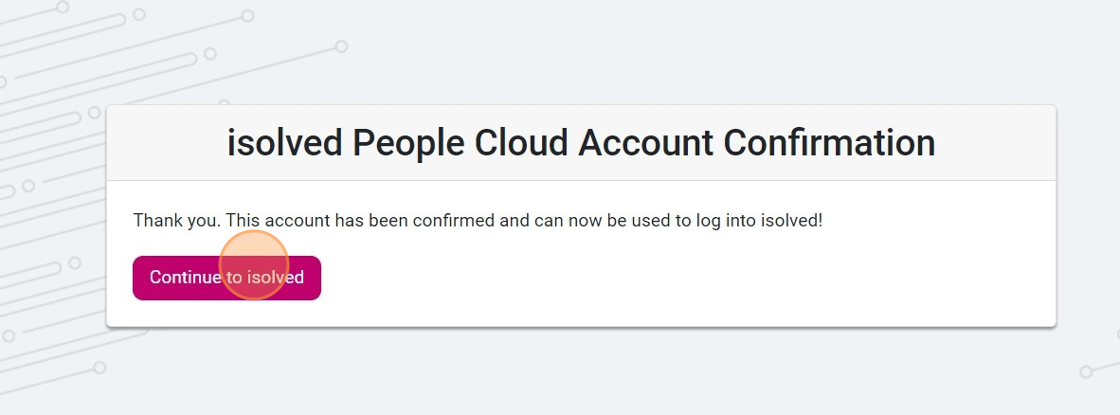
9. Click "Continue to isolved"
Logging in to your account
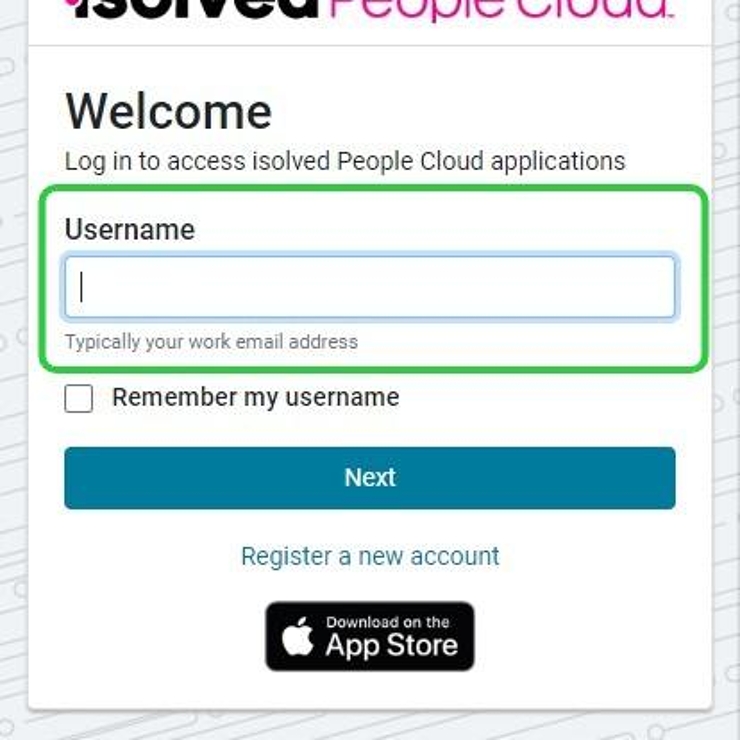
1. Enter your email address in the username field.
Click "NEXT"
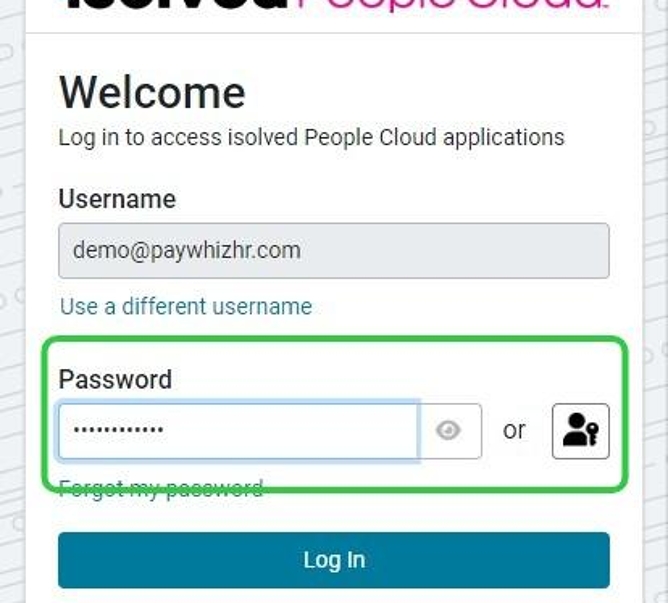
2. Enter your password.
Click "Log In"
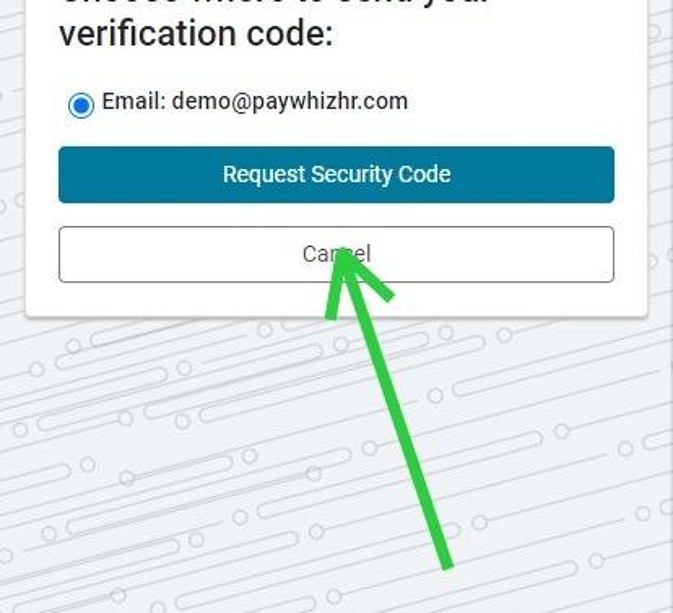
isolved will ask you to validate your identity with an additional factor of authentication the first time you log in to your account on a device.3. Select where you want to the code to be sent to
The authentication code can be delivered via email or text. If you didn't provide your mobile phone number earlier, email will be the only option.
Selected your authentication method, and click "Request Security Code"
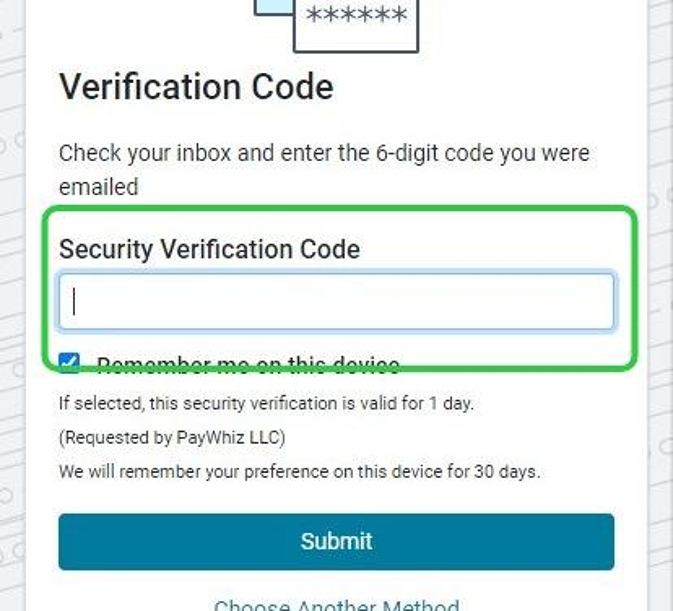
4. Copy the Authorization Code

5. Enter the security Code
Click "Submit"
Next Steps
Frequently Asked Questions
Q: What is the URL to log in to the employee portal?
A: You can log in at paywhizhr.com/login
Q: What if I don’t remember my password?
A: Use the Forgot Password option.
Related Articles
Frequently Asked Questions: Employee Login and Account Access
If you are experiencing difficulties logging in to the Adaptive Employee App, follow this guide to resolve common issues. For additional support, contact your HR or IT department. General Questions Where do I go to access the employee portal? To ...How to Set Up and Modify Passwordless Login
In today's digital age, securing sensitive data while ensuring user convenience is crucial. With cyber threats on the rise, traditional password-based authentication methods are vulnerable to breaches. To counter this, organizations are adopting ...How to Access the isolved Learn & Grow University
The isolved University is a valuable resource for learning and training on the isolved platform. If you are an employee or administrator using isolved People Cloud, you can easily set up your isolved University account and access it seamlessly from ...How to Add a bank account for direct deposit in the isolved app
To add your bank information for direct deposit in the iSolved app, follow these steps: 1. Navigate to Pay and Tax and tap on Direct Deposit. 2. Tap on ADD NEW 3. Enter your bank account and routing number, account type, and description (optional) 4. ...Reviewing and Updating Tax Withholding Forms in the Employee Portal
This guide walks employees through the steps to update their tax withholding forms using the employee portal. By following these instructions, employees can easily access and adjust their tax profiles, ensuring compliance and optimizing their tax ...