How to Process a Special (off cycle) Payroll
A special payroll run, also known as an off-cycle payroll, is an unscheduled payroll processing cycle that falls outside the regular payroll schedule. It is typically used to process payments that don't fit into the standard payroll cycle, such as bonuses, commissions, or retroactive pay adjustments.
This article will guide you on how to process a special payroll using the isolved platform.
Setting up a special payroll run
1. Log in to paywhizhr.com/client

2. Navigate to "Payroll Processing » Client Run Schedule"

If you have more than one pay group, make sure the correct pay group is selected.
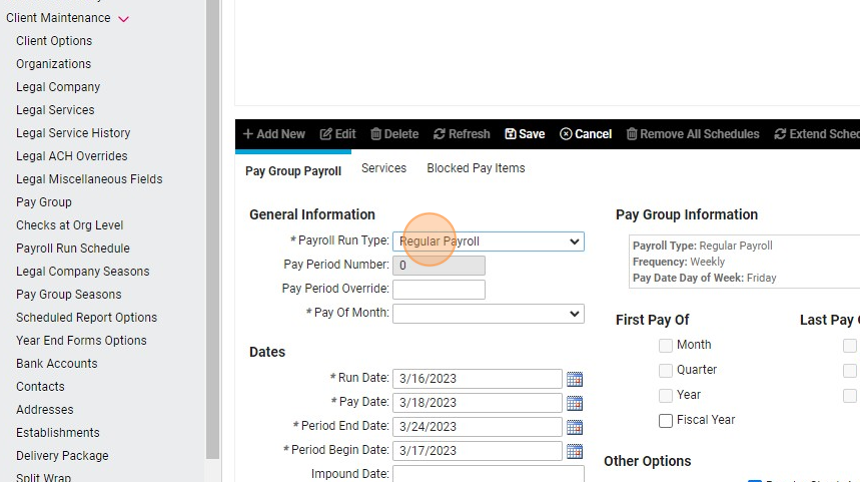
3. Click "Add New"

4. Select "Special" in the dropdown.
5. Select "5th pay of the Month".

6. Select Run Date, Pay Date, and Pay Period.
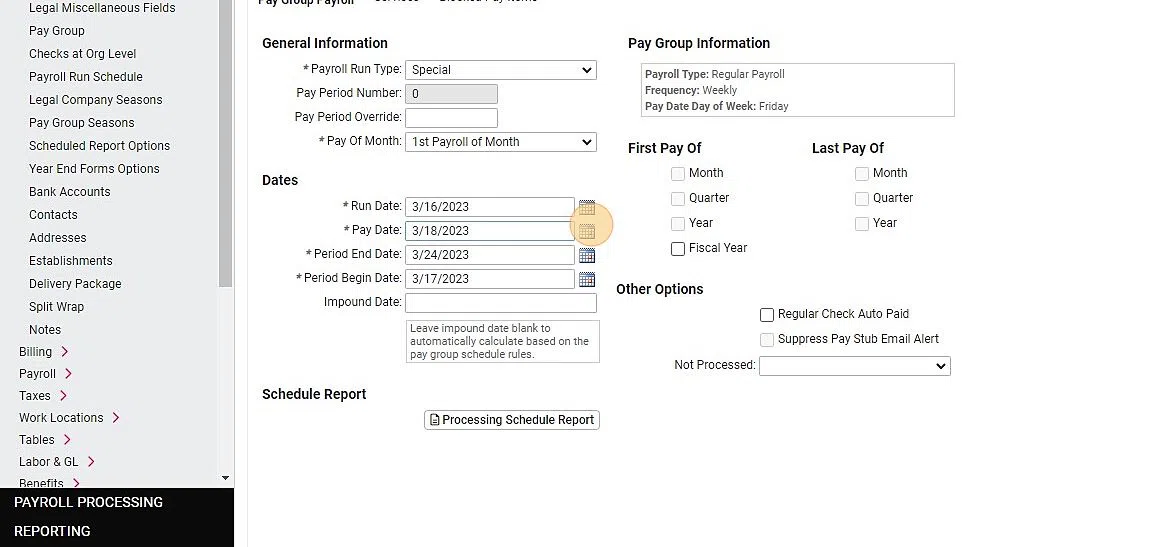

The "Run Date" is the day you will process the payroll run.
The "Pay Date" is the day the employees will get paid. (Must be at least 2 days after the run date).
The "Pay Period" is the period for which the employees are getting paid.
The "Pay Date" is the day the employees will get paid. (Must be at least 2 days after the run date).
The "Pay Period" is the period for which the employees are getting paid.
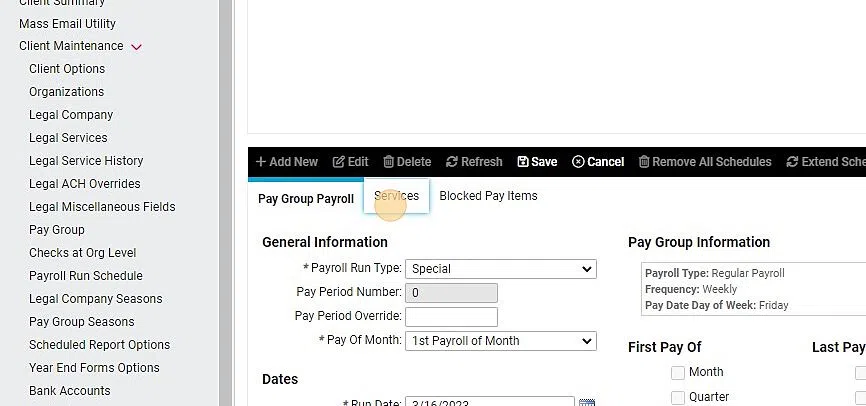
7. You can block certain services and pay items by clicking on the "Services" and "Blocked Pay Items" tabs.
8. When done click "Save"

Enter hours and dollars
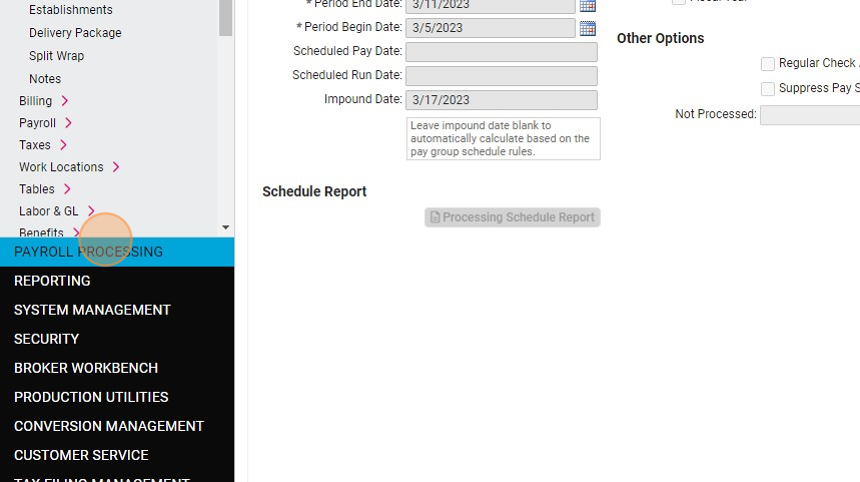
9. Click "PAYROLL PROCESSING"
Entering Data for multiple employees
10. Click "Additional Check Entry Grid"

11. Select "Additional Check" from the Additional Check dropdown.

12. Click "Apply".

13. Enter payroll data as you normally would.

Individual Time Entry
14. Click "Individual Time Entry"
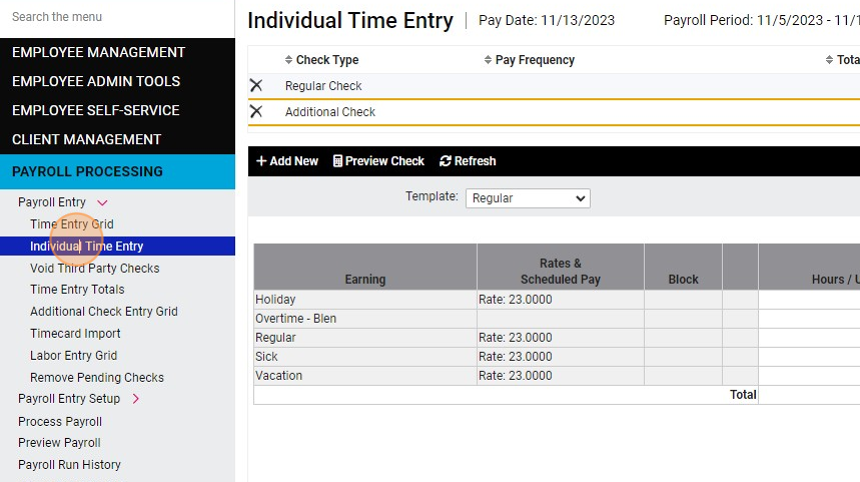
15. Click "Add New"

16. Select "Additional Check" from the dropdown.

17. Click "Save".

18. Enter the check information.

Process Payroll
19. Click "Process Payroll"

20. Make sure the pay period, run date, and pay date is correct.

If you have more than one pay group, make sure the correct pay group is selected.
21. Recommended: Click "Preview" to preview the payroll.

22. If everything looks good you can process the payroll.
Frequently Asked Questions
I created a special payroll, but it doesn't appear on the payroll processing or preview screen?
The system defaults to showing payrolls with today’s run date. If the special payroll you created has a past run date, it may not appear.
Try updating the run date to today’s date to see if it becomes available for preview.
If there is a regular payroll scheduled for today, the system may prioritize displaying that instead. In this case, you can temporarily change the run date of the regular payroll to a future date. Just remember to switch it back once the special payroll has been processed.
Related Articles
How to Print Payroll Checks From isolved
With PayWhiz you can conveniently print payroll checks onto blank check stock directly from your office. This streamlined process increases efficiency and reduces the cost of payroll processing, all from the convenience of your office environment. ...How to Import Payroll Data from isolved to QuickBooks Desktop
QuickBooks Desktop is a popular accounting software used by many businesses to manage their financial data. If you are using isolved for payroll processing, you may want to import your payroll data into QuickBooks Desktop to keep your financial ...How to Review Time Cards for Payroll Processing
Payroll processing is a critical function for any organization, and accuracy is paramount to ensure that employees are paid correctly and on time. Reviewing time cards is a crucial step in this process to ensure accuracy before processing payroll. In ...How To Complete The Employee Onboarding Process
This guide provides a straightforward and efficient walkthrough for completing the employee onboarding process using the PayWhiz platform. It simplifies the steps involved, ensuring that HR professionals can easily navigate through the necessary ...How to Modify Time Cards in isolved After the Pay Period Was Closed
Sometimes employers become aware of time cards errors or omissions after the pay period was already closed and payroll has been processed. While employees can be made whole by adding the missed hours to the next payroll run, or by issuing a special ...