How to Enroll an Employee for Biometrics on an isolved NXG Clock
Biometrics are an important aspect of employee management, as they provide a secure and accurate way to track attendance and time worked. The isolved G2+ Clock offers a convenient solution for enrolling employees' biometric data. In this guide, we will walk you through the steps to enroll an employee for biometrics on the isolved G2+ Clock. Two separate templates must be enrolled for each employee.

Before you can enroll employees at the clock, an Employee Profile must first exist in the isolved system, and the clock must be online.

Please note: the user interface on your clock may differ from what's shown here depending on the software version your clock is on.
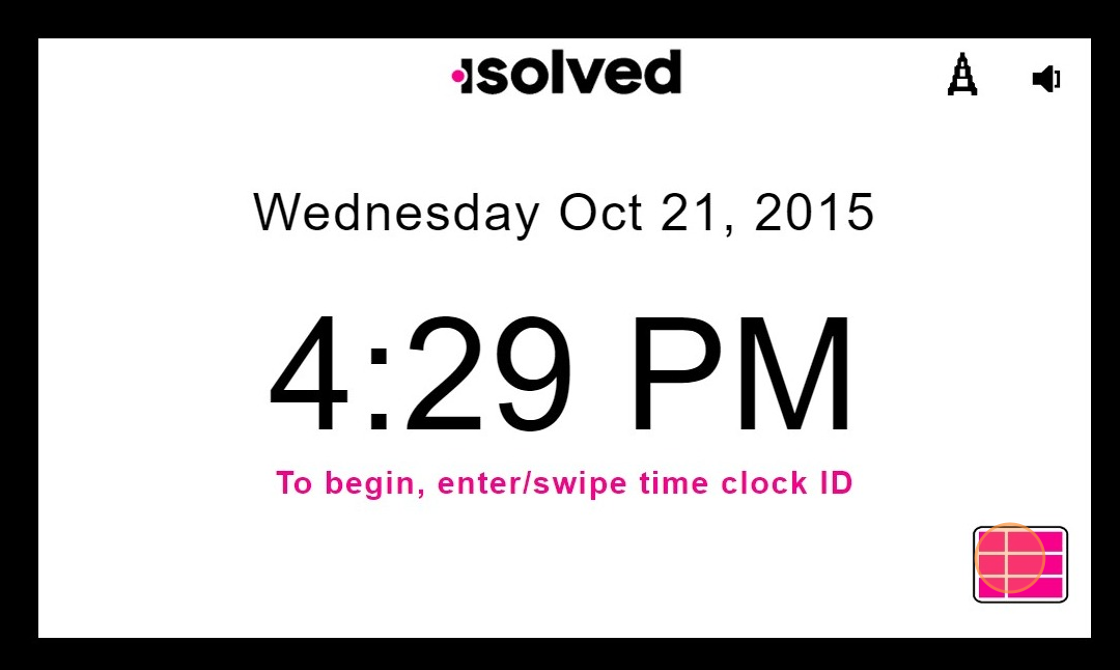
1. Click on the menu icon or click MENU on the keypad.

2. Click "1. Main Menu"

3. Enter your (supervisor's) Badge Number and click "Save" or "Enter"

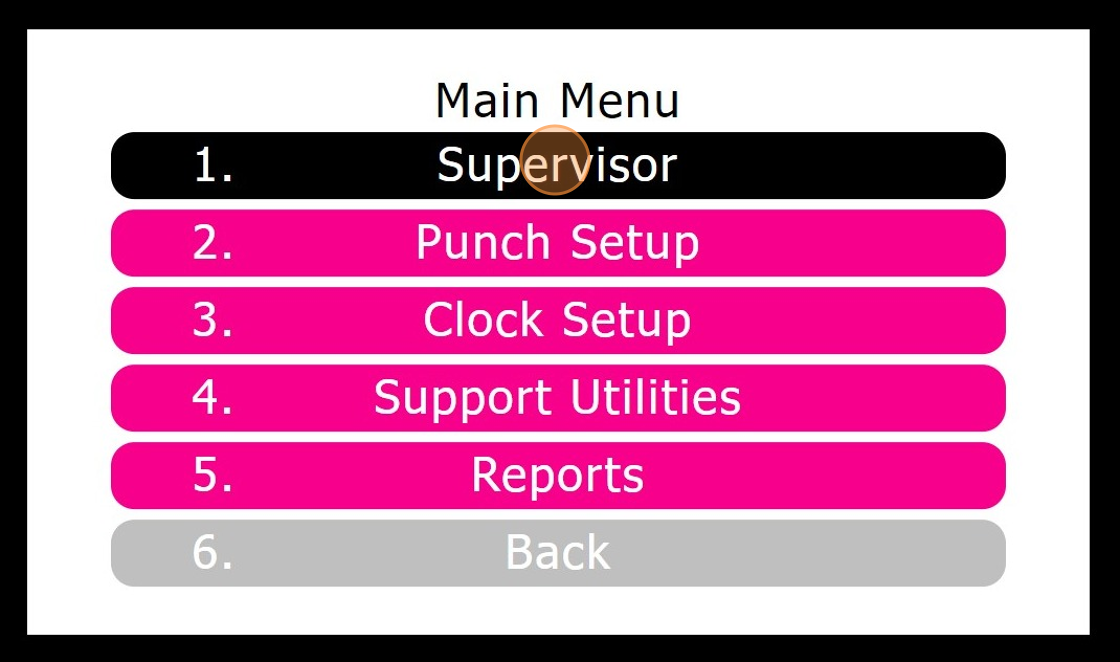
4. Click "1. Supervisor"

5. Click "5. Biometrics"

6. Click "1. Enroll Employee"

 Employees are required to accept the “BIPA Agreement” (Biometric Information Privacy Act) before they can be enrolled.
7. Enter the employee badge number/time card ID and click "Submit"
Only employees that have already been entered into isolved can be enrolled at the clock.

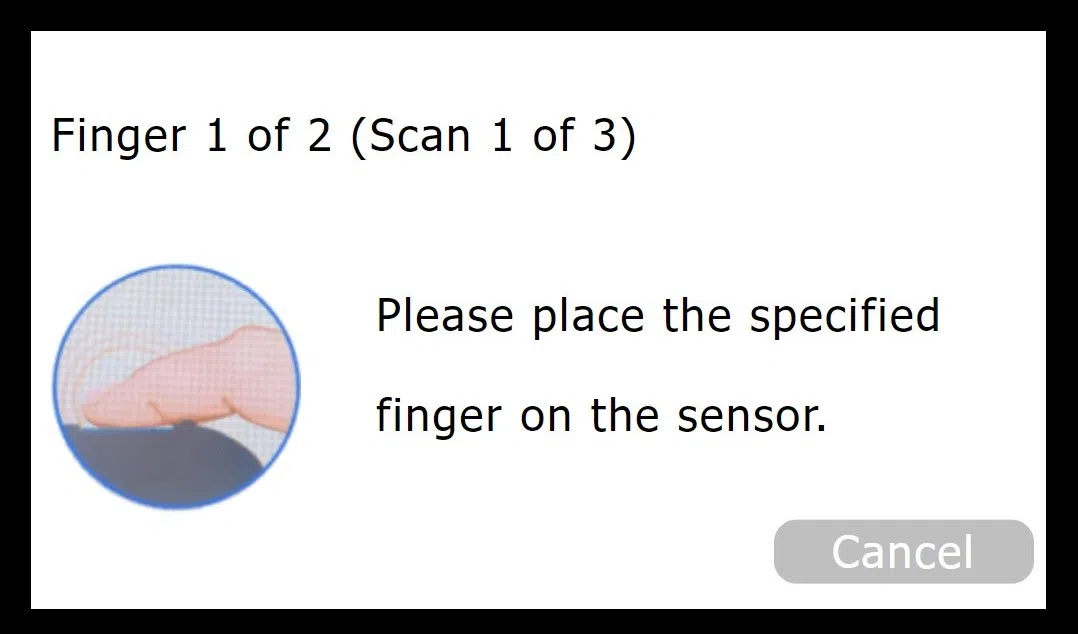
The clock prompts the employee to place their finger on the touchpad.
The finger should be placed on the touchpad with the fingertip resting on the stop ridge at the top of the plastic touchpad housing. This graphic outlines the best way for an employee to position their finger on the sensor. We highly recommend using this as a guide when enrolling employees, and possibly even posting it near the clock for reference. (a PDF version of this graphic is available to download at the bottom of this article.)
8. Scan first finger 3 times
You are prompted to lift and replace your finger three times.

9. Repeat the process for the second finger
Adding a second finger ensures the employee can continue to punch if the first finger is injured.

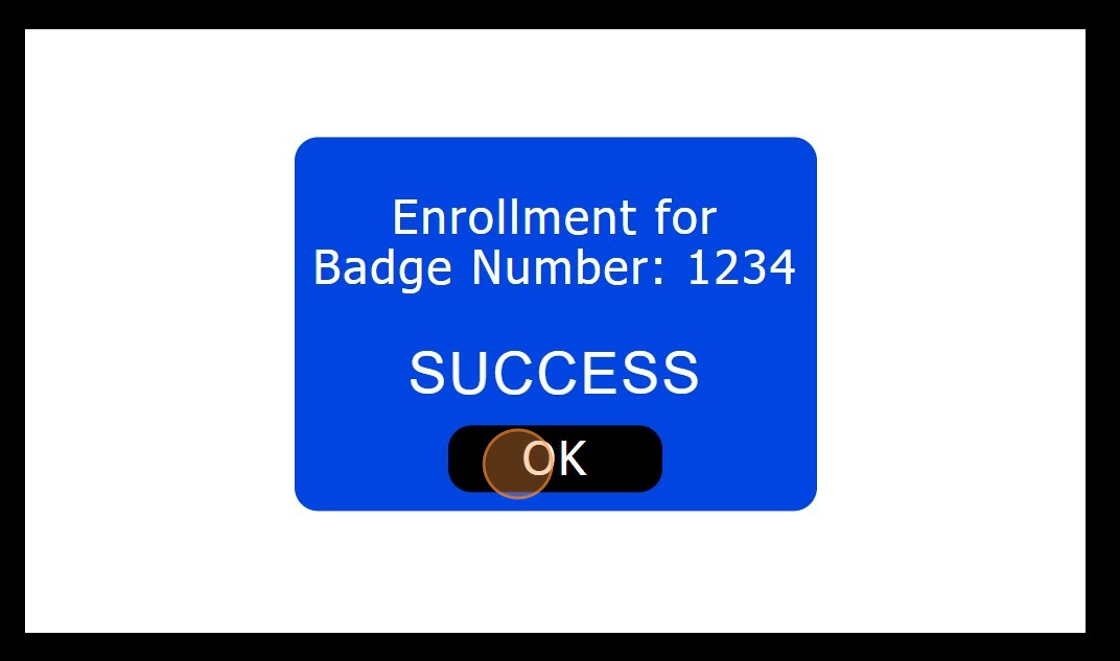
10. Click "OK"

Related Articles
How to Add a Missing Punch in the isolved App as a Manager
As a manager or supervisor using the isolved app, you have the ability to add a missing punch for an employee. If an employee forgets to clock in or out for a shift, or if there is any other type of missing punch, you can easily correct it using the ...How to Assign, Edit, and Remove Individual Shifts in isolved
The isolved adaptive app provides a user-friendly platform for efficiently managing employee schedules. In this guide, we will walk you through the process of assigning, editing, and removing individual shifts within the app. Navigating to Schedule ...How to Review and Manage Alerts in the isolved Adaptive App
The isolved app provides users with a convenient way to manage their payroll tasks, including reviewing time alerts. Alerts are notifications that inform you of time card occurrences that may require your attention. Reviewing alerts regularly is ...How to Approve Missing Punches in isolved as a Manager
To approve a missing punch in isolved as a manager, you can follow these steps: 1. Navigate to the isolved app 2. Click "Manage" > "Tasks" Or click "Tasks" under the Manage section 3. On a tablet or PC, click "REVIEW" Punches 4. On a phone click ...How to review and process time off requests as a manager
This guide provides a step-by-step process for managers to review time off requests using the adaptive app. It explains how to navigate to the relevant section, view request details, check for conflicts, and take action by approving or rejecting the ...