Guide to Submitting Expenses on the Adaptive Employee App
This guide provides clear, step-by-step instructions to help you submit expenses quickly and efficiently using the Adaptive Employee App. Follow the steps below to ensure your expenses are accurately submitted for reimbursement.
Navigating the Expense Module
Open the adaptive app
Tap the Menu Icon (top left).
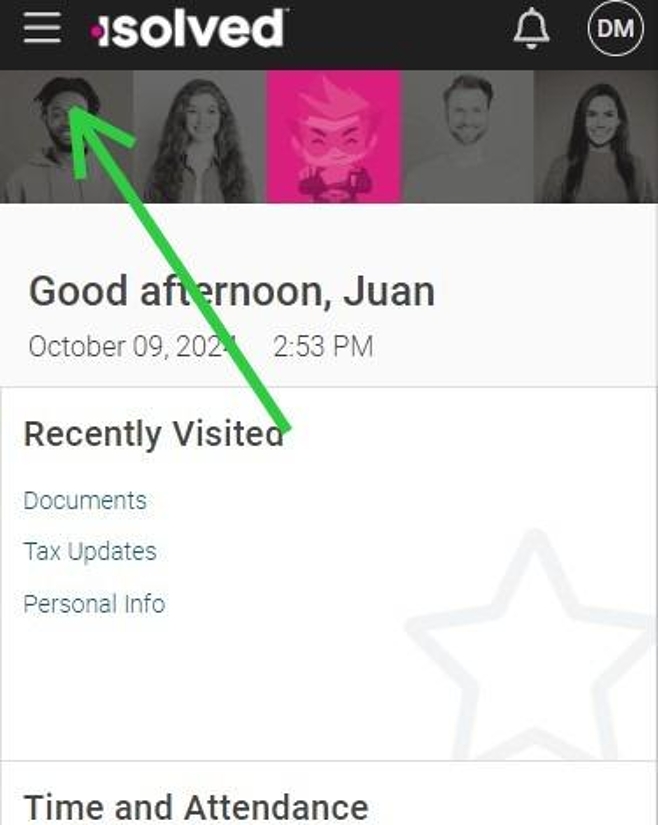
Select the Receipt Icon

Tap My Expenses

Alternatively, scroll down to the Expenses tile on the home screen and tap My Expenses.


At the bottom you'll see a list of all pending expenses (if any)
Submitting a new expense claim
To add a new request, click on the photo icon to upload a receipt, or tap on the + icon to manually enter details.


When uploading a receipt, the app will attempt to extract the vendor name and date of the expense.

8. Fill in Required Fields
Complete all the necessary fields as required by your organization, including:
- Vendor Name
- Date of the expense
- Expense Amount


Add notes
Enter additional information in the Details field if needed.

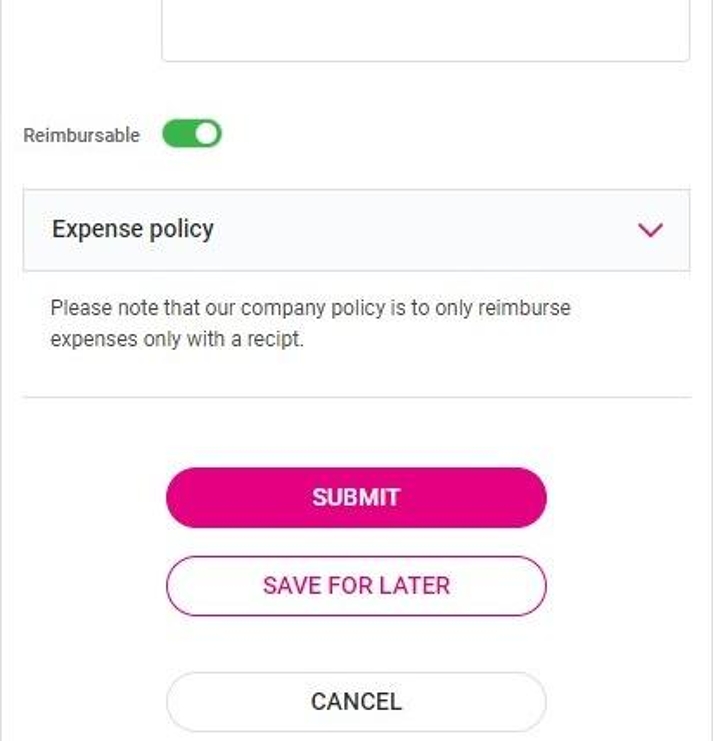
Toggle the Reimbursable option on or off.

If the toggle is off, the expense will not be repaid through payroll.

Complete your entry
Choose one of the following options:
- SUBMIT: Sends the expense for approval.
- SAVE FOR LATER: Saves the entry under Pending transactions for future editing.
- CANCEL: Deletes the entry.
13. Click here.

Resubmitting a returned expense
When a request is submitted with missing information, your manager may return it to you for additional information along with a note of what needs to be corrected.
To correct the entry navigate to the "Returned" tab

Click "EDIT" to open the request

Add the requested information
Once the information is updated, tap RESUBMIT to send the expense back for approval.

Following these steps will help you efficiently manage and submit your expenses for processing.